Learning how to Rig
So, I have always wanted to learn how to rig. I find animation (2D and 3D) extremely interesting and fun to watch, and when I learned that there was a job to create the skeletons for animating, I started to think that maybe I would go into learning animation, but I mostly just wanted to learn to Rig. For me though, Game Design and Programming was more fun to me and was some of the first skills I learned so I put learning to Rig on the back burner. Now however, I thought, “what better time to learn a new skill than during the middle of a pandemic when nobody is looking to hire Junior-Level employees”.
So I followed Level Pixel Level’s “Rigging a Knight for Games” Tutorials, throughout my process. His videos were very concise and he even had a key press history showing on the bottom-left corner of the screen that was SUPER useful in learning Blender’s shortcuts.
To start off, I had a small idea for a character that was a robot in a big puffy jacket and a baseball cap, kinda like Canti from FLCL (Fooly Cooly) but the jacket would cover his hips, legs and forearms as well.

So I found that doing the clothes would be a bit of a big undertaking for my first time so I just modeled a simple, old CTR television and used basic shapes joined together for the most of it’s body.
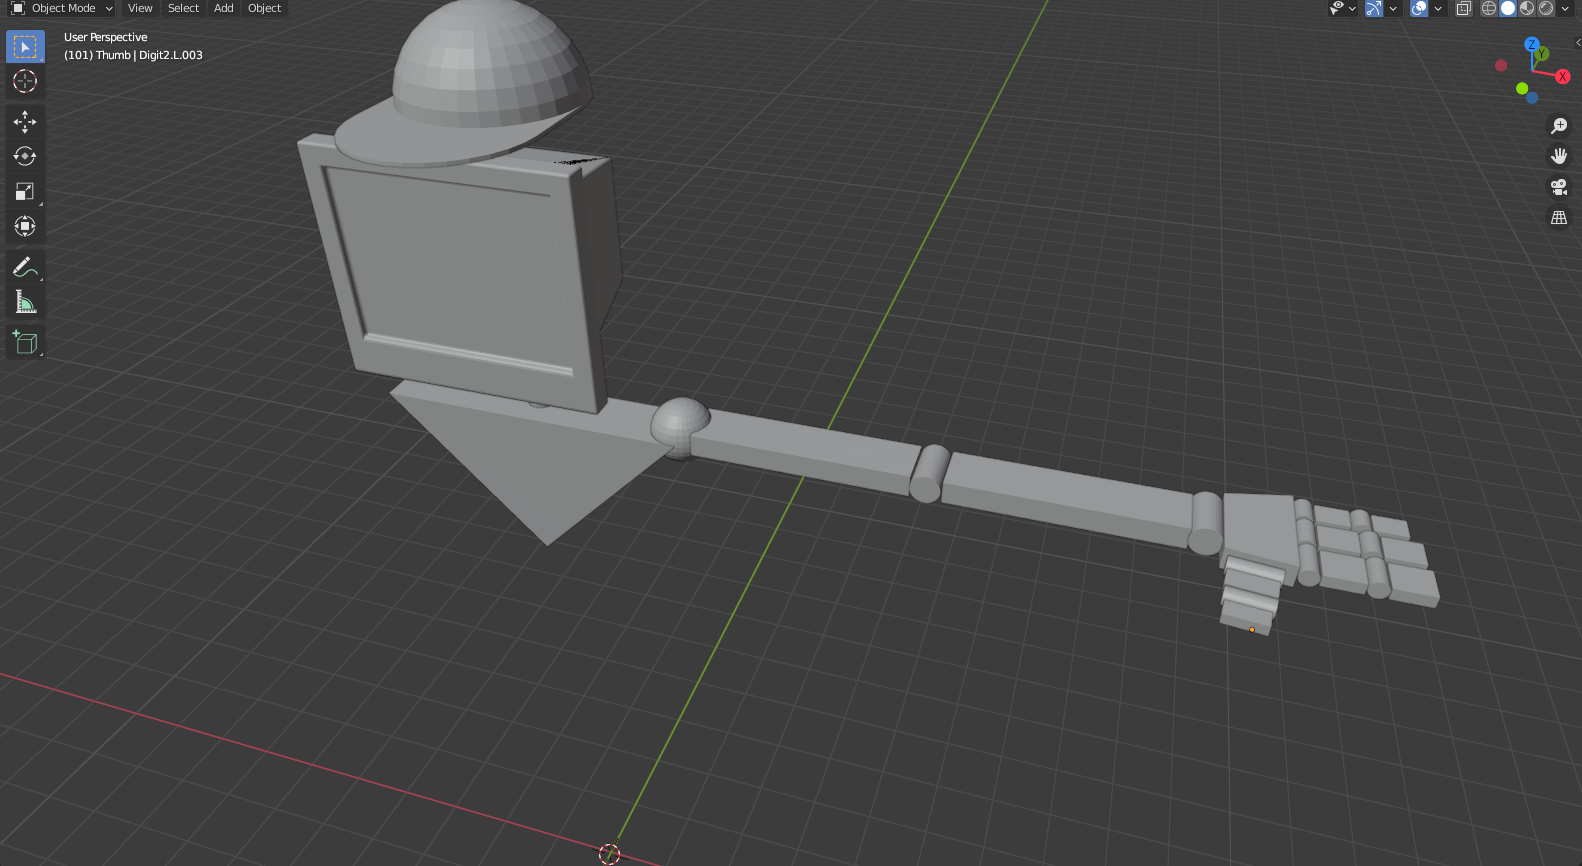

Once I had the Robot all modeled out I finally started to watch LPL’s videos and used his techniques and process on my own model, rather than the Knight. So first things first, I set up the armature skeleton, and bound the rig to the mesh of the model. This was time consuming but not hard.

Then got into the interesting part, Weight Painting. I did not know that this was even a step and boy howdy did I have my fair share of problems. Some problems that I ran into were as follows:
- I weight painted everything to 100% in conjunction to whatever bone and piece of Robot body. This wasn’t a huge problem on most of the body since it was basic shapes but I couldn’t figure out why the body and head would warp in random places.
- I did not put enough geometry in certain places, like the body, so when I finished, the contorting was EXTREMELY stiff and blocky and would warp the mesh a lot.
- Once I finished my first pass over the painting, I noticed that some of the painting was artifacting into other bones paintings. This was because there should be some give in nearby bones as I adjust whichever bone I’m working on BUT sometimes a finger would be painted on the foot for some reason.
- I had to do a lot of re-painting.
Once that was done with that I added the controller rig, which honestly was the most fun part of all this. Creating the shapes for the controllers and attaching them to the deform rig was, again, tedious but really fun once I could test them out.
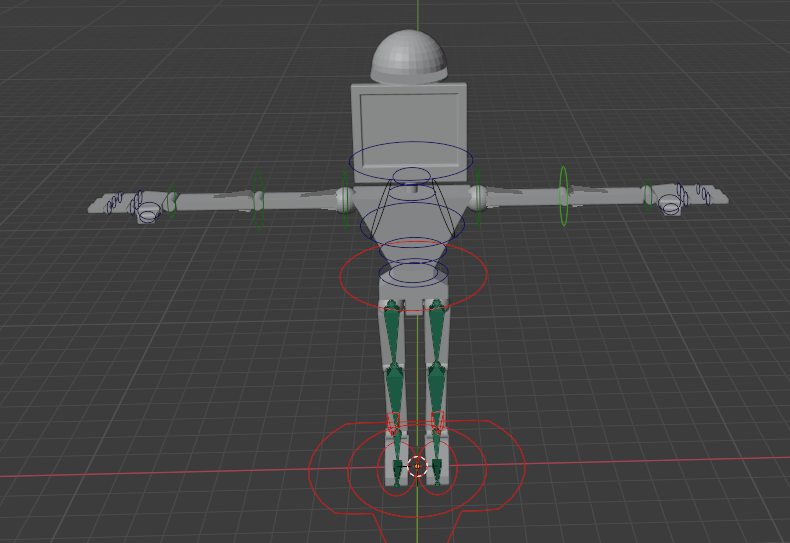
I started with the legs, adding the base and connecting that to the root bone in the pelvis. After that I added controllers starting at the feet and moved my way upwards until I got to the hat.
I did run into a problem with the feet of the model. I showed my rig to a friend of mine that does animation and he said if his feet doesn’t have more geometry he wouldn’t be able to walk fluidly. which makes a lot of sense, so that way you can get a bend in the front of the foot. So I added some more geometry and had to repaint that and some of the ankle. This ALSO did some of the random artifacting, is then went through the entire deform rig just to make sure that nothing was out of place. I never figured out if this was “Me” problem or a Blender problem.
Then I learned about the wonderful topic of IKs, or Inverse Kinematics. I thought this was interesting way to streamline animating but just putting physics onto the joints themselves so that way they would work like in an actual body. So I learned to put those on the elbows and knees, and it all worked as planned.
The final part however was to export the Rig so that my friend could try it out. I spent forever testing on my end, with exporting an .FBX, .OBJ, and other file structures I didn’t even know existed, and dropping them into my “Free 1-Month Maya Trial” just for the Rig to be broken to all hell or just not there at all. I now know that you can’t export rig projects from Blender to Maya, there is just no support for that in a useful way.
So, all in all this was a just a great learning experience. I did learn how to Rig in Blender, which for the most part is still applicable to Maya rigging, but Maya is expensive and I am poor. So, I might not be remaking the rig inside of Maya anytime soon, but when I can do it I would like to
You can download my rig here.

Categories
